Sometimes, making flowers is a little like making dinner: local ingredients are best, the presentation is really important, and whatever you do, do not leave it in a hot car with the windows up! OK, hopefully nobody actually leaves flowers in their car on a hot summer day, but you can’t be too careful.
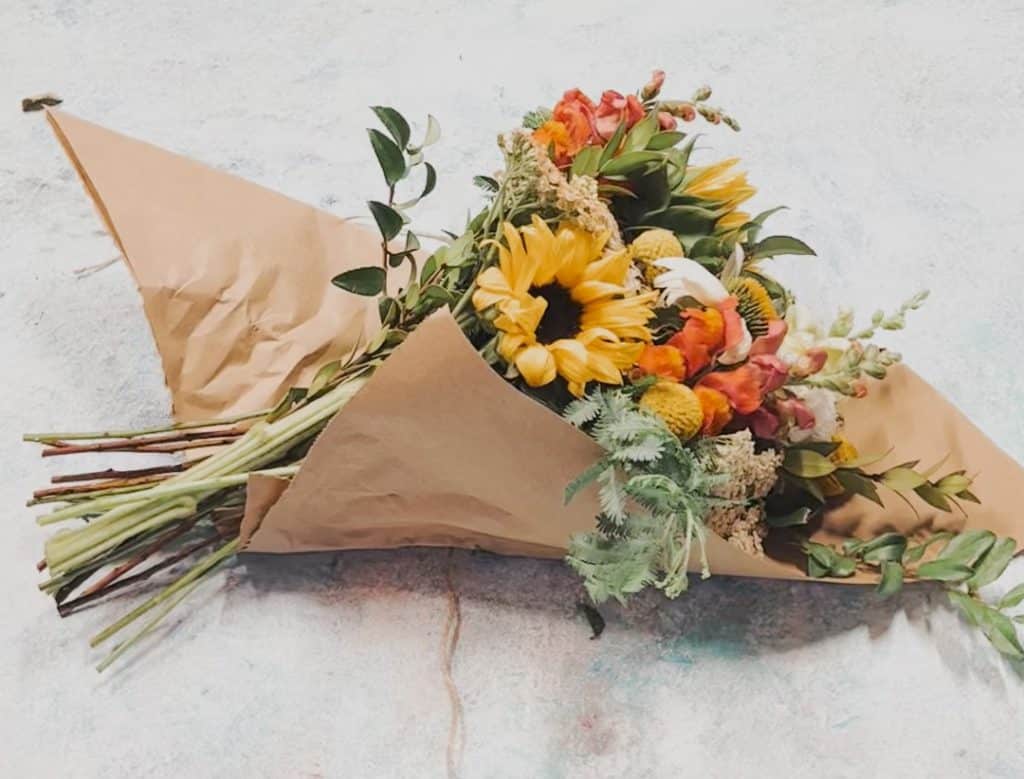
All of our subscription and one-time flowers are delivered as wrapped bouquets, and I get a surprising amount of questions about how we package them before sending them out the door. I really love wrapped bouquets, and the process of wrapping them not only helps keep the flowers protected in transit, but it really pulls everything together and makes the bouquets look a little more polished and finished. Plus, then you get a nice little piece of paper to let your toddler doodle on afterward!
Here’s an explanation of how we wrap our flowers and the materials we use to do so. Everything is relatively inexpensive, readily available, and can be recycled or composted after the flowers are delivered. Feel free to let me know if you have any questions about the process!
Watch a video of this whole process on my Instagram!
What you’ll need
The tools and materials we use to wrap our bouquets are all easy to purchase. Here’s a list of the items we have purchased from Amazon:
- 18-inch-wide kraft paper — OK, 900 feet of paper is pretty darn heavy, so thank your delivery driver next time you see them.
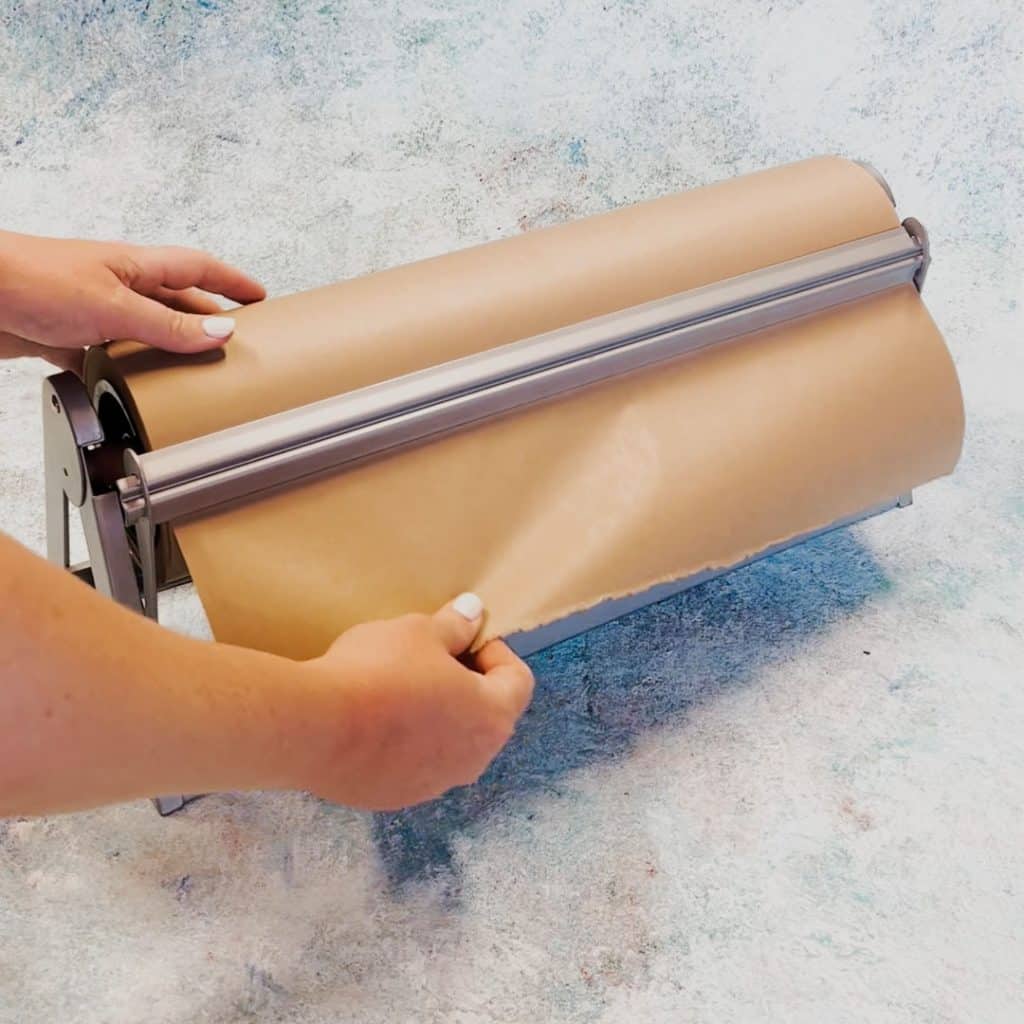
- Paper roll holder / cutter — You don’t strictly need one of these, but it makes everything soooo much easier.
- Twine — We tie the bouquets with simple jute twine.
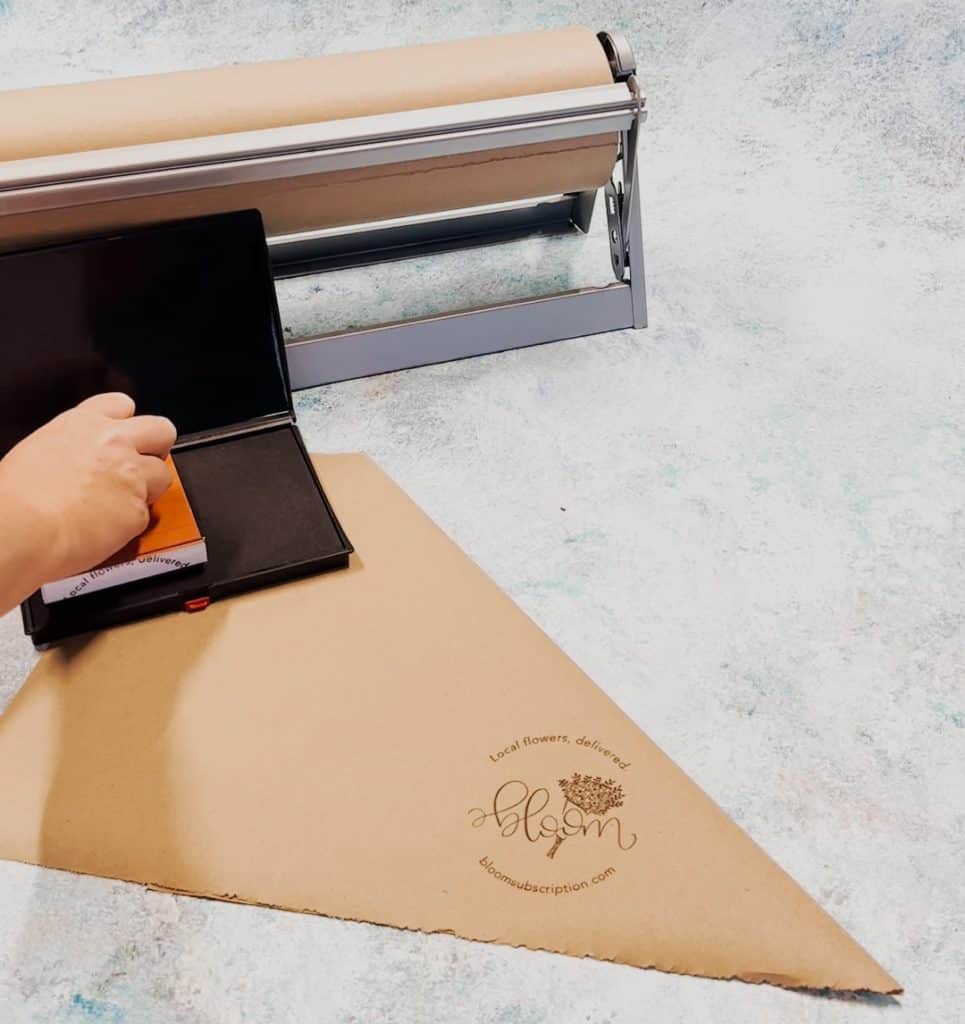
- Rubber stamp — We add our logo to the wraps with a 3½-inch by 4-inch stamp that we ordered from thestampmaker.com.
- Ink pad — If you’re going to use a stamp, don’t forget an ink pad.
Step 1: Cut the paper
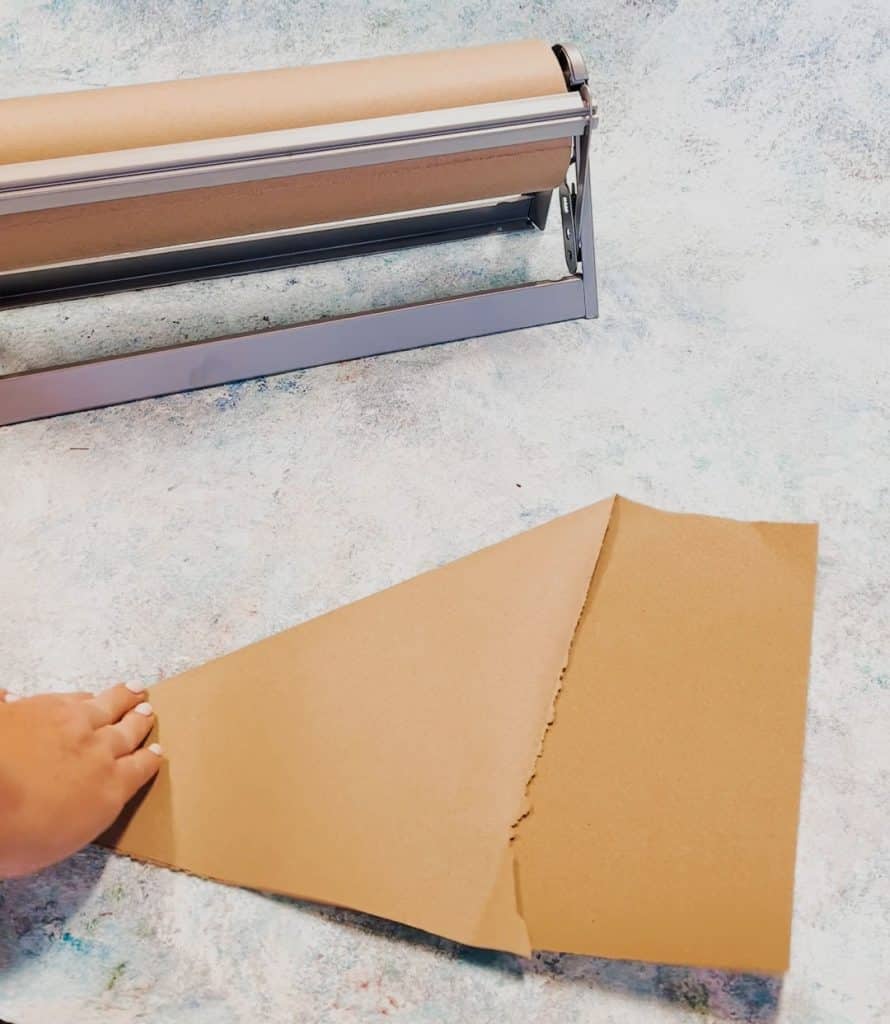
The first thing you’ll need to do is tear off a piece of paper to wrap your bouquet. I find the 18-inch-wide paper works pretty much perfectly, and it doesn’t really matter how long of a piece you cut — just aim for somewhere around 10 inches.
Step 2: Fold it
Take the top left corner of the paper and fold it down so that the short edge meets the long edge at the bottom. (Wow, I never realized how hard it is to describe directions like this!)
Step 3 (optional): Add your logo
I think the logo stamp makes the bouquet look really nice, but obviously this step isn’t necessary. Flip the paper over before you stamp your logo on the corner.
Step 4: Grab your flowers, get folding
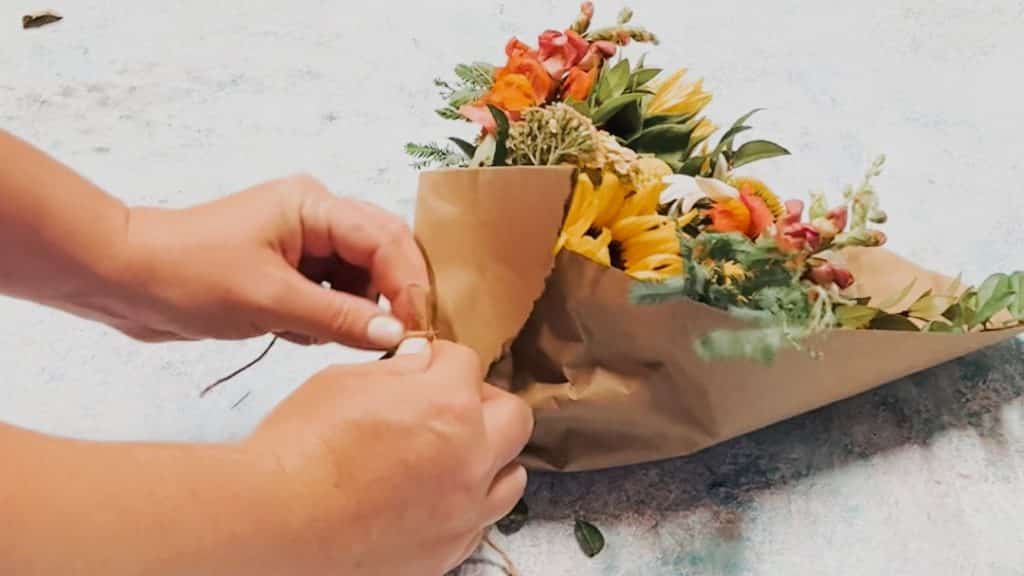
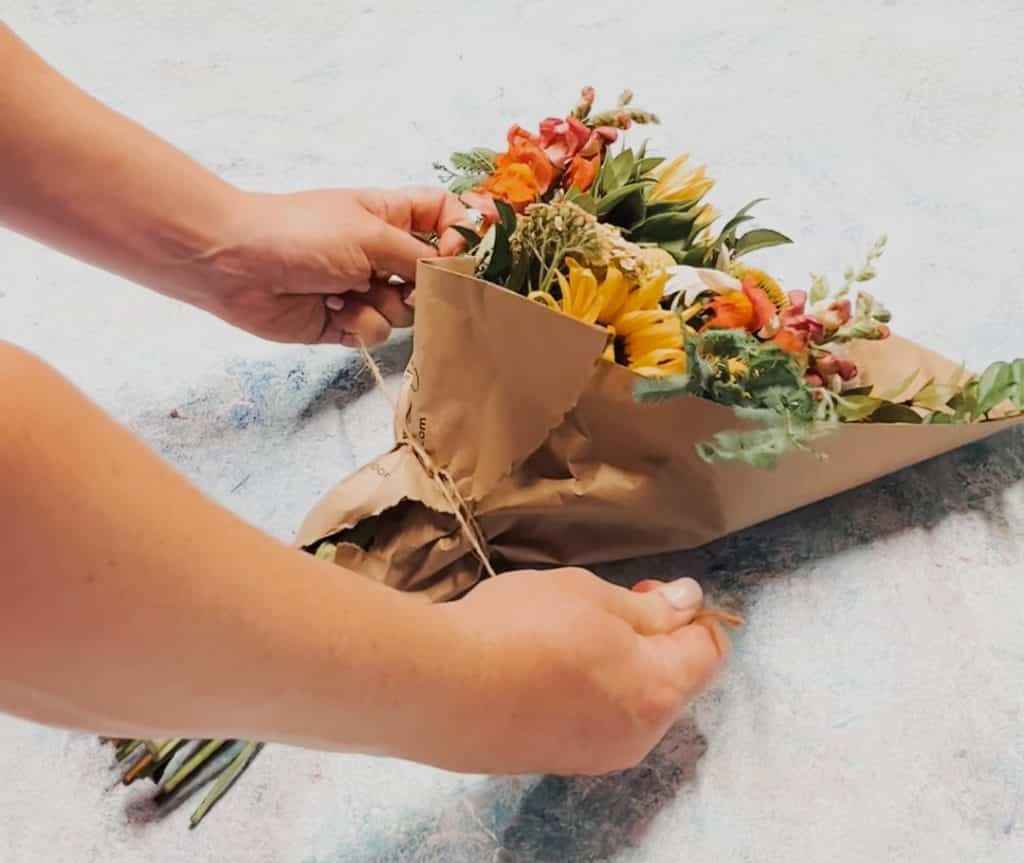
Flip the paper back over, and set your bouquet in the middle of the paper. Fold over the unfolded side first, then bring in the folded side on top.
Step 5: Tie it up
This part might seem pretty self-explanatory — grab a piece of twine and tie it around your new creation. Up until this point I use a rubber band to hold the bouquet together, but once the twine is on I remove the rubber band and save it for the next time around.
It might take some experimenting to get this process to work for you, but I’ve grown to love everything about it: How it makes the flowers look, how sustainable it is, and the process of actually doing it (the sounds are so satisfying!). If you try it, please let me know!
See our wrapped bouquets for yourself: Start a subscription or order a one-time delivery.

